Help
Everything you need to get the most out of Travel Atlas — and exactly what "no accounts, no cloud" means for your data.
Every screenshot on this page highlights the exact button or field being described, so you always know where to look.
On this page
- Installing the app
- Adding a pin
- Importing places from Google Timeline or Polarsteps
- Pin types — lived, visited, bucket list
- The year timeline
- Attaching photos
- Trips — building, managing, and grouping pins
- Sharing a trip card
- Printable poster
- Cutout-board selfie
- What "no accounts, no cloud" means for your data
- Backup and export
Installing the app
Travel Atlas is a web app you can install like a native one — no App Store or Play Store required. On iPhone/iPad (Safari): tap the Share icon, then "Add to Home Screen". On Android (Chrome): tap the ⋮ menu, then "Install app" (or "Add to Home screen"). On desktop (Chrome/Edge): look for an install icon in the address bar, or the browser's menu → "Install Travel Atlas".
Installing just adds an icon and opens it full-screen, without the browser's own address bar — your data is exactly the same either way, since it all lives in this browser's storage regardless of how you launch it.
On Windows, installing adds Travel Atlas to your Start menu automatically. To also get an icon on your Desktop: find it in the Start menu, right-click it → "Open file location", then right-click the shortcut in that folder → "Send to" → "Desktop (create shortcut)".
On a Mac, open Travel Atlas in Safari, then choose File → Add to Dock (or the Share icon → "Add to Dock"). It adds a standalone app icon to your Dock, Applications folder, and Spotlight — no browser window around it.
On Android: open Travel Atlas in Chrome, tap the ⋮ (three dots, top right), then "Install app" (some phones say "Add to Home screen" instead), then confirm. Some phones also show a small install prompt automatically the first time you visit, with no menu needed.
Don't see "Install app" in the menu? You're probably not actually in Chrome. Links opened from the Google app, Gmail, or other apps often open in a stripped-down in-app browser that looks similar but skips this option entirely. Look for "Open in Chrome" in that browser's own menu, or copy the page's link and paste it into Chrome directly, then try the ⋮ menu again.
Adding a pin
Search for a place using the box above the map, or click directly on the map — open water and land both work if you want to drop a pin somewhere exact. Give it a name, pick a type, and optionally group it under a trip. That's it — no location permission, no account, nothing to confirm.
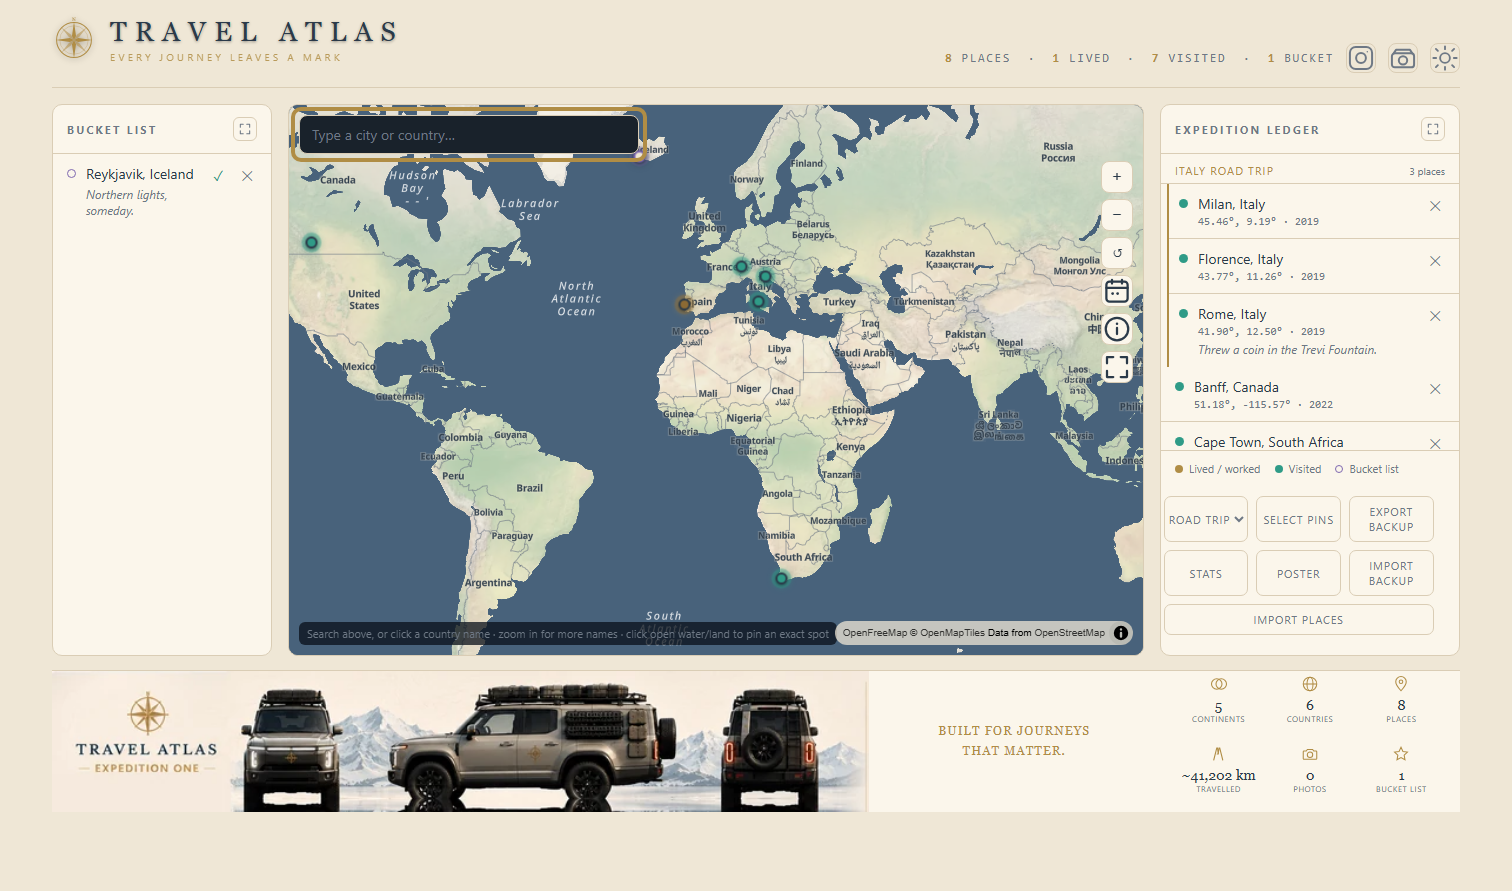
Add one entry per visit year — handy for a place you keep going back to (visiting family every few years, say). Each year shows up as its own removable chip, and every visit year counts toward your stats and the by-year timeline.
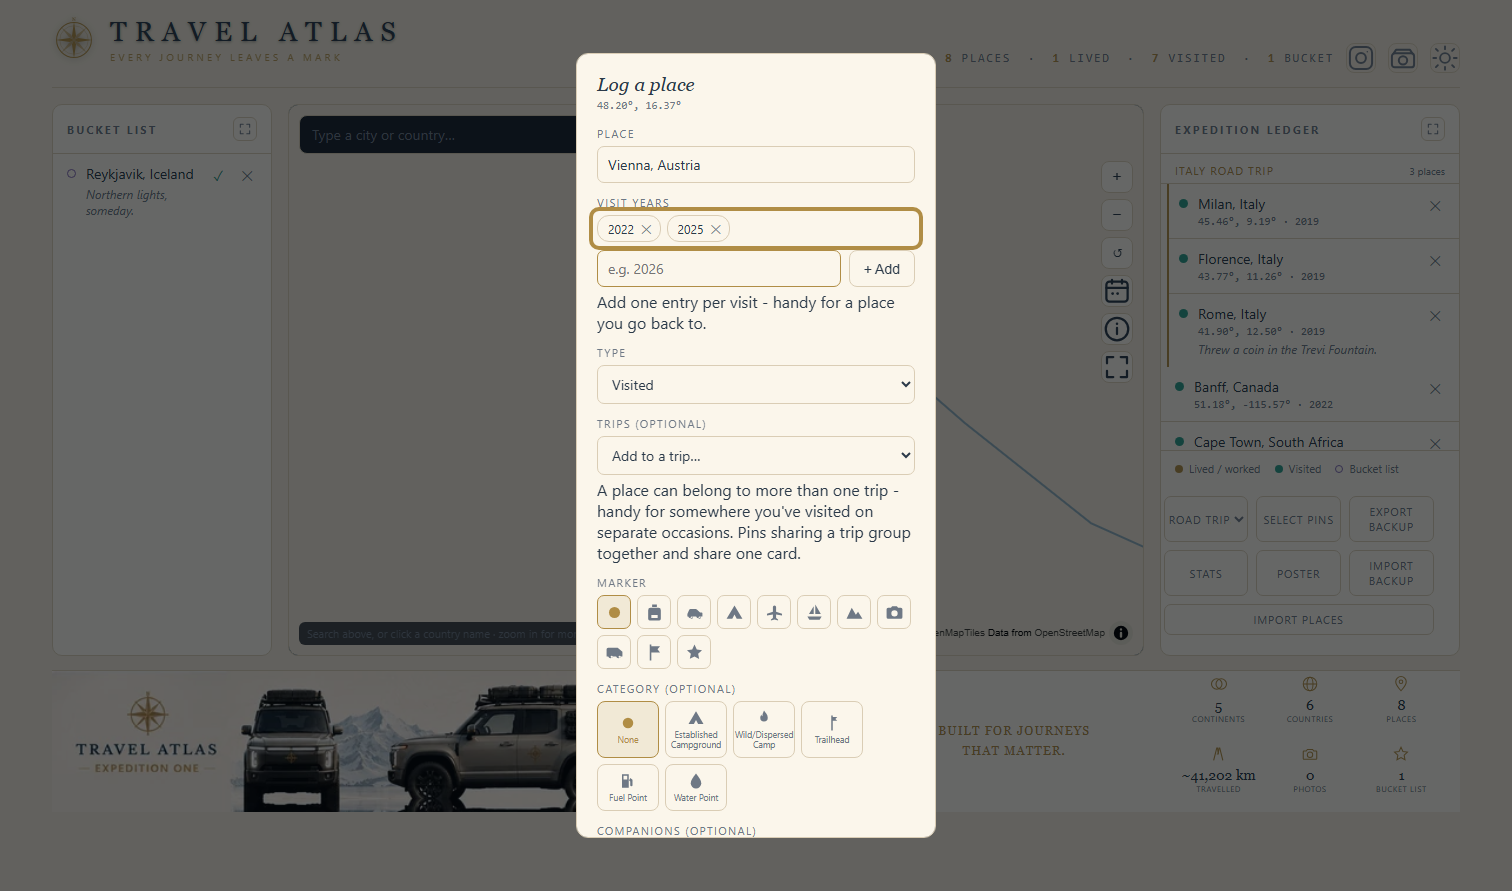
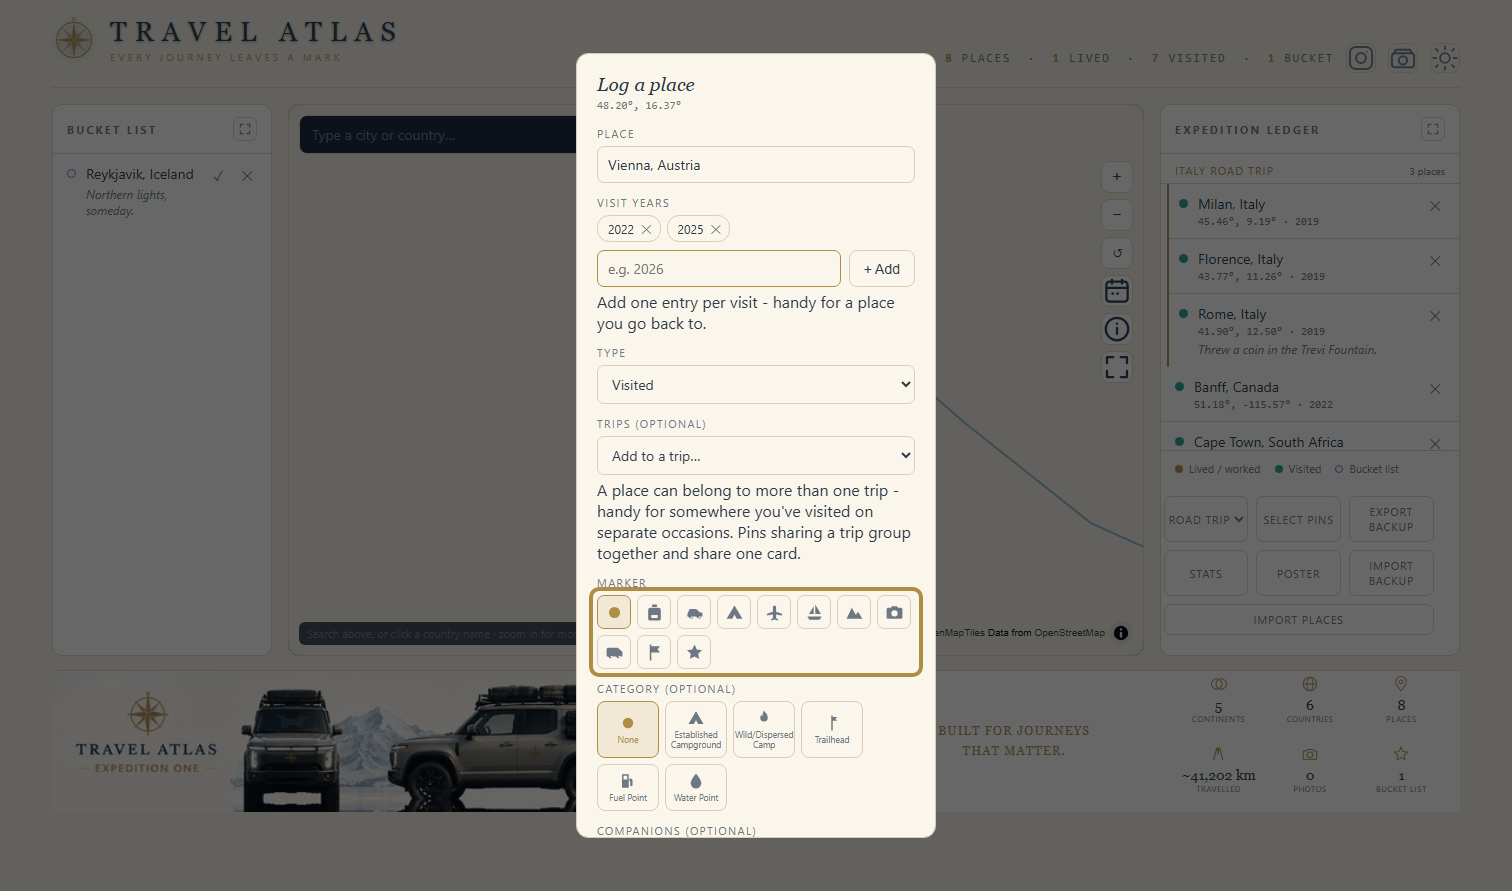
Pick a marker from a set of icons instead of the default dot, if you want a place to stand out on the map at a glance.
Importing places from Google Timeline or Polarsteps
Already have your travel history somewhere else? Use Import places to read a Google Timeline or Polarsteps export file and pull out every place it found. Nothing is added automatically — you get a review screen first, with every place already checked, so you can uncheck any that aren't real visits (or that you've already pinned) before confirming.
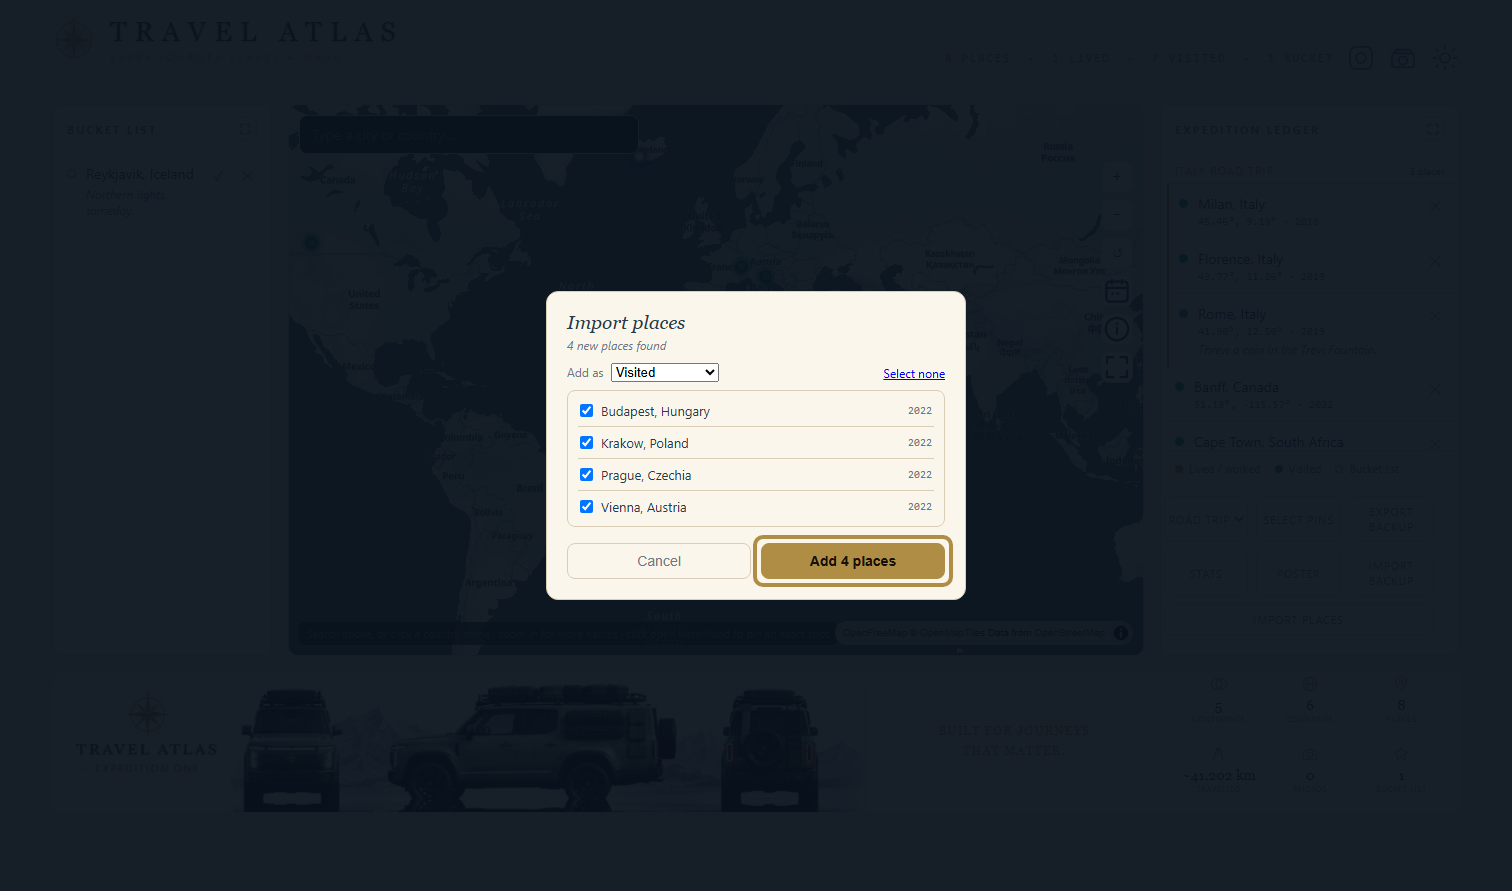
This is additive, never a replacement — it can only add new pins alongside what you already have, never overwrite or delete anything.
Pin types
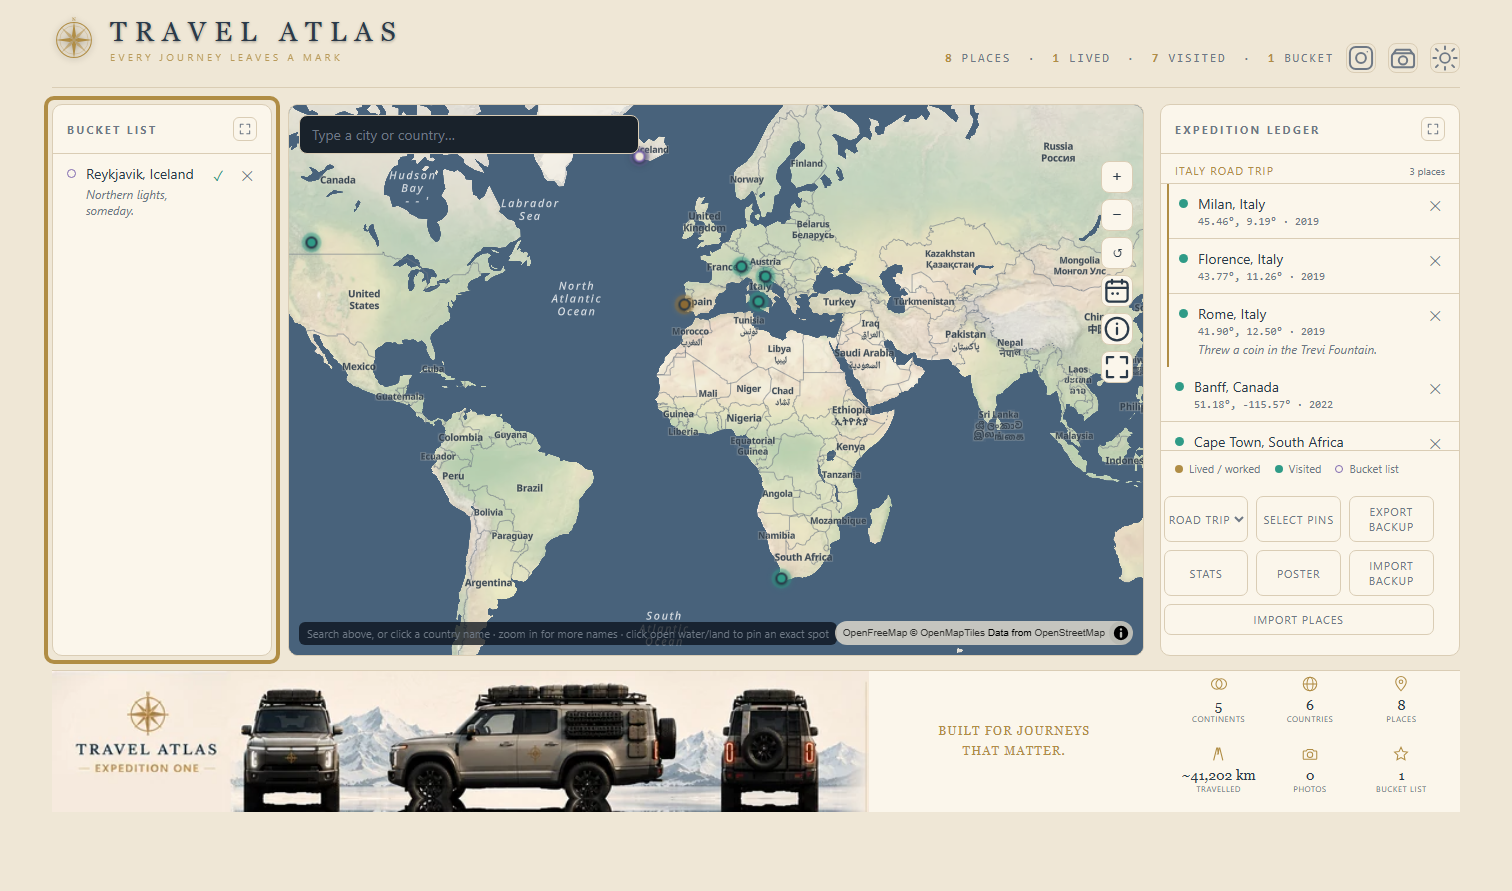
Every pin is one of three types, shown as a different colour on the map:
Bucket list pins sit in their own panel until you've actually been — tick one off and it moves straight into your travelled ledger, keeping its notes and photos.
The year timeline
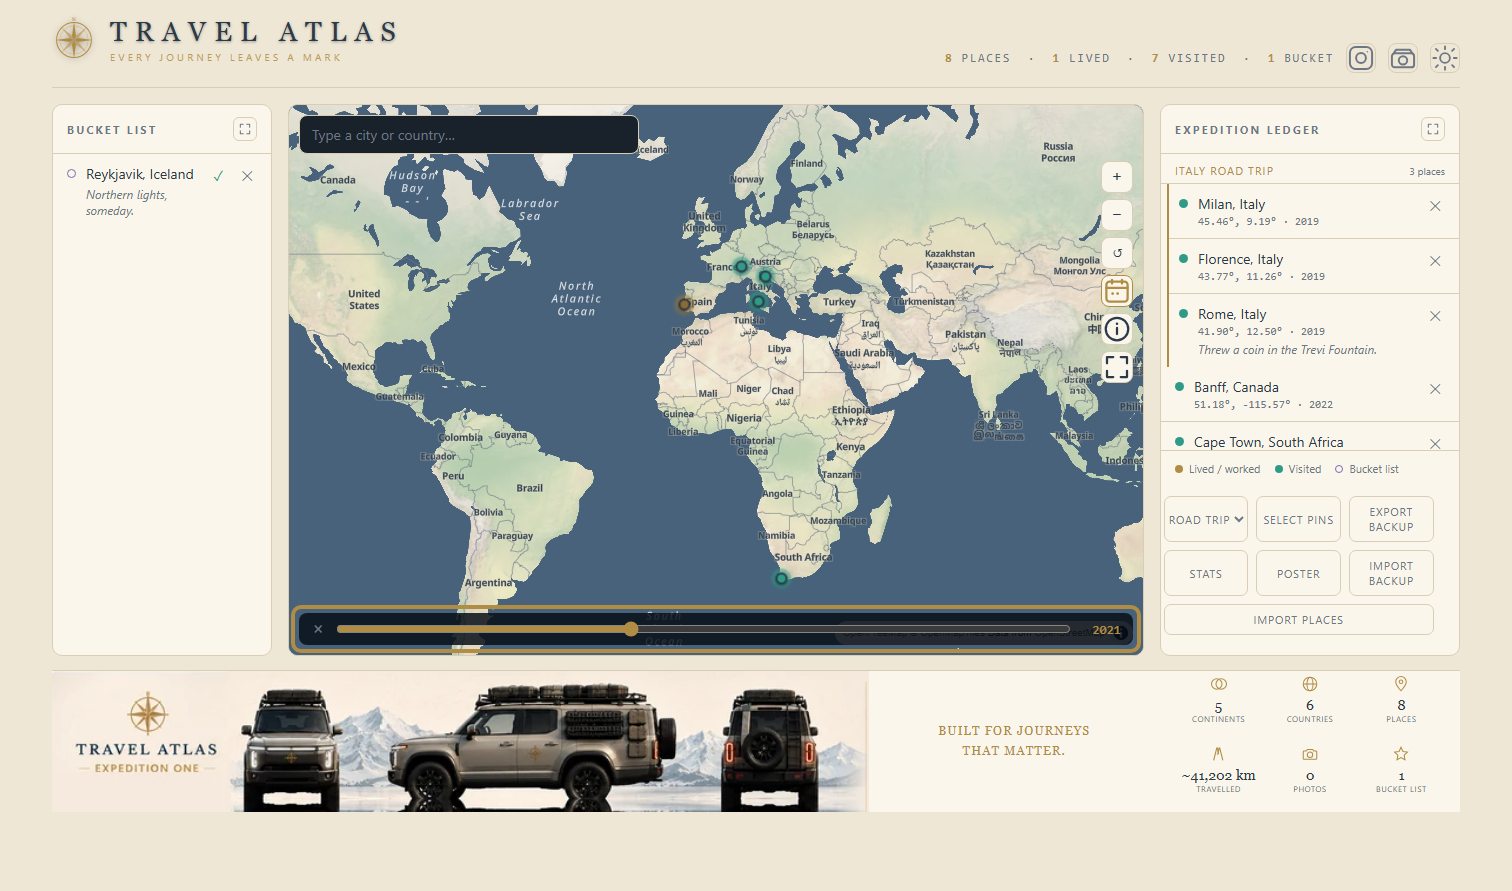
Tap the calendar icon above the map to scrub through a slider of years — the map shows only the pins dated at or before whichever year you land on, so you can watch your own travel history fill in from your first trip to your latest. It only changes the map view; your ledger and bucket list stay exactly as they are underneath.
Attaching photos
Open any pin's detail view and add up to 5 photos. The first one you add becomes that pin's map thumbnail by default — tap the star on any photo to make it the thumbnail instead. Tap the circle icon on a photo to pick the one spot (a face, a landmark) that should always stay in frame, however that photo gets cropped elsewhere in the app.
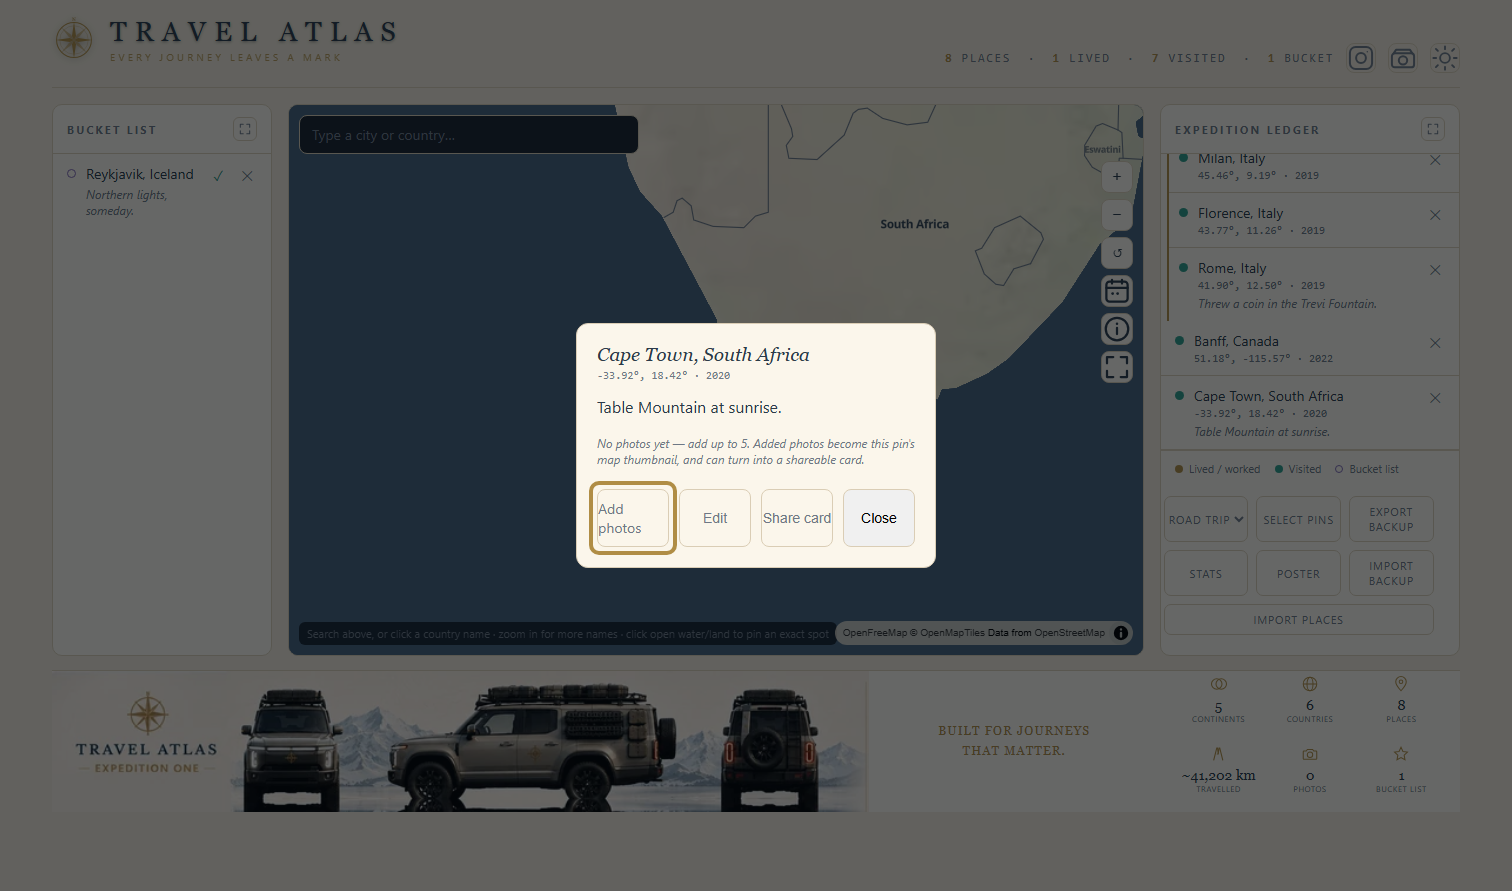
Photos are compressed and stored alongside your pins in the browser's own storage on your device. They never leave it unless you deliberately export a backup or share a card.
Trips
Group pins into a trip two ways: pick or create one from the Trips field in the pin form, or use the Road Trip builder to name a trip and search every stop, start to finish, in one go — each stop becomes a pin automatically.
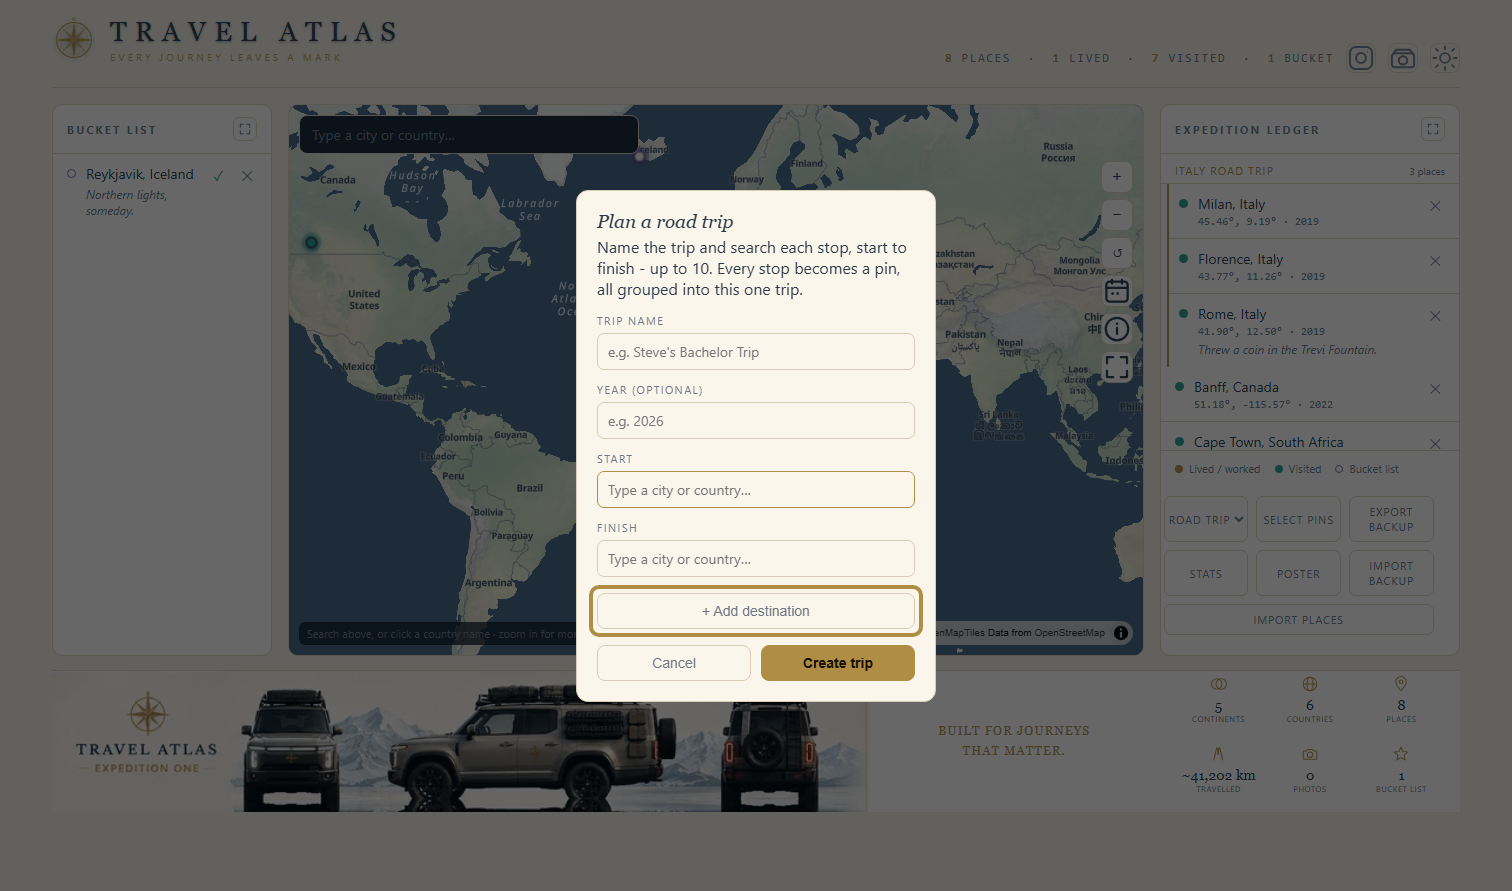
Click a trip's header in the ledger to open it: drag the handle next to any stop to reorder it, Add destination to search in one more stop, Rename the trip, or Merge into… another trip if two ended up split by mistake.
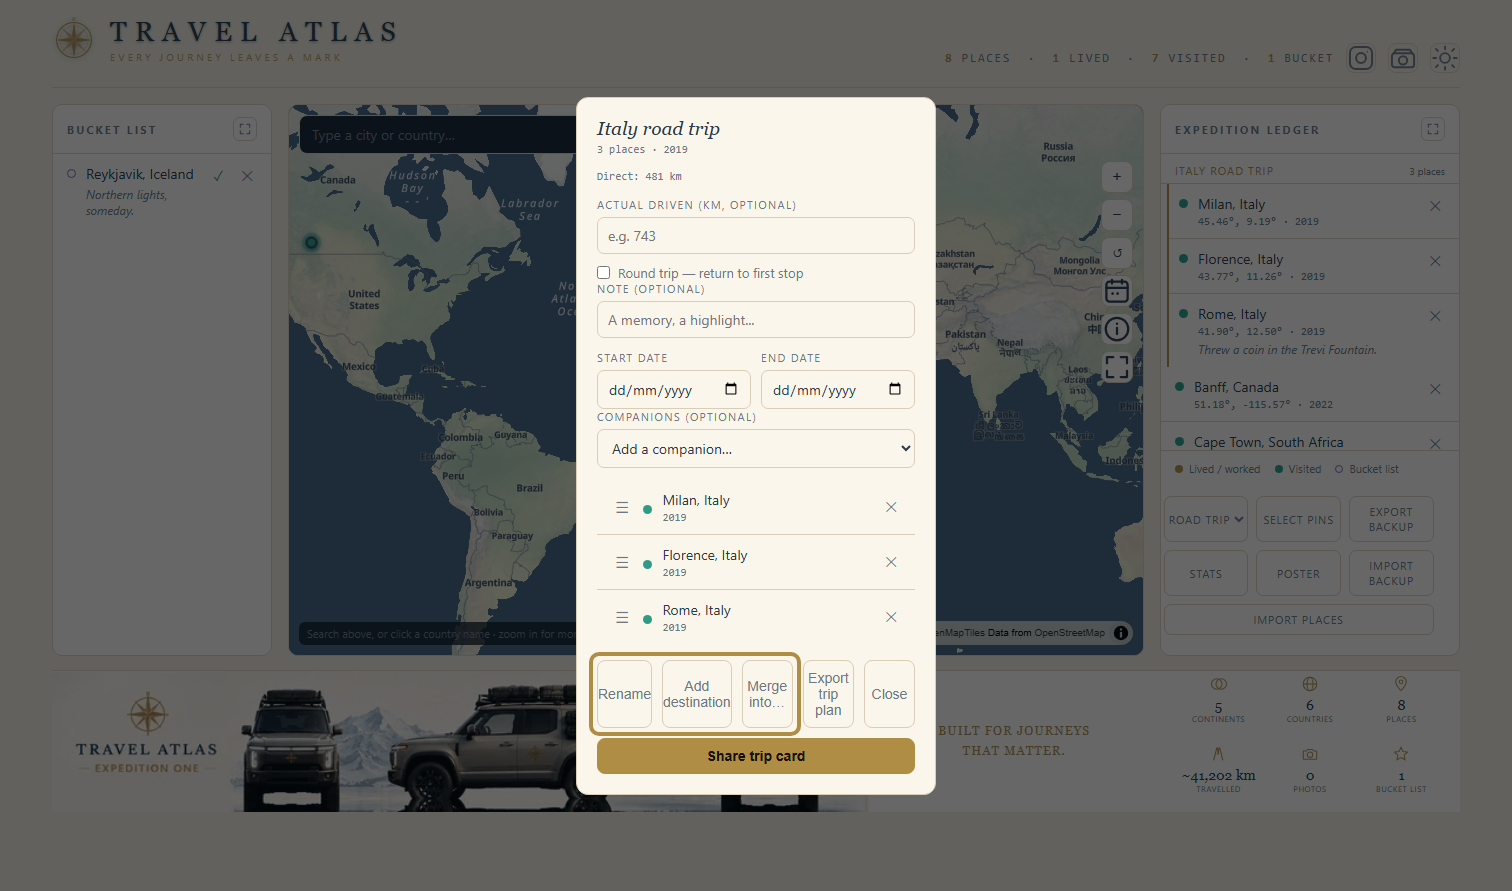
A place can belong to more than one trip — handy for somewhere visited on separate occasions (say, once on a big trip, then again on a quick return). It shows up once under each trip it's part of, with no need for a second, duplicate pin.
Sharing a trip card
From a pin's detail view, hit Share to render a postcard-style card — your photos, a map inset, and your stats, ready for your phone's share sheet or a download. Group pins into a trip first (see Trips above) to get a multi-stop card with a route line instead of a single place.
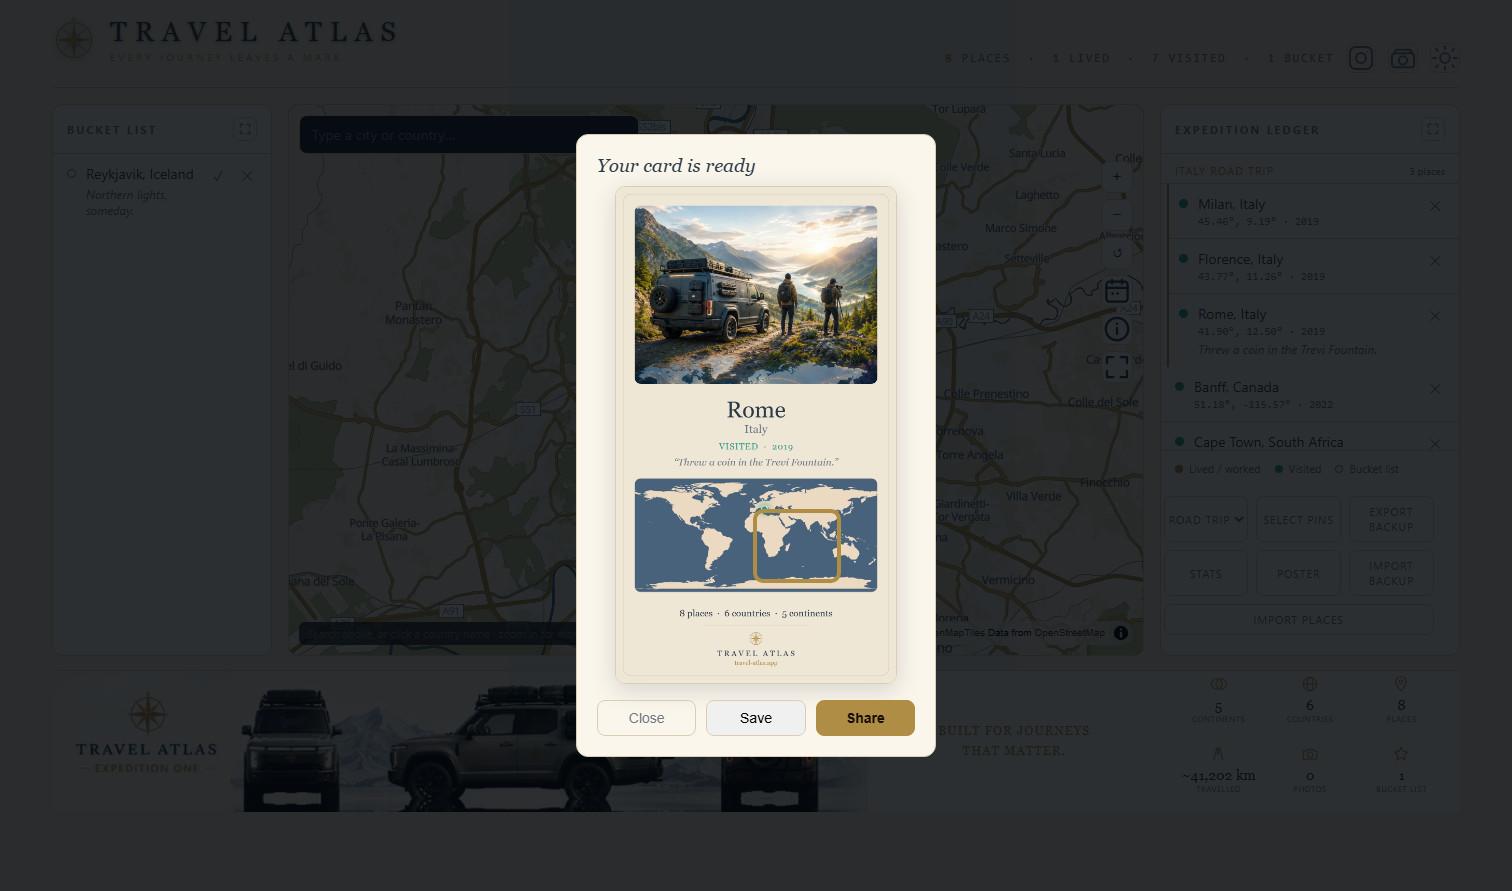
If a place has more than one photo, a picker opens first: tap photos in the order you want them — the first tap becomes the big picture, the rest become smaller thumbnails alongside it, up to four in total. Tap a chosen photo again to drop it. Skip the picker without tapping anything and the first four photos are used automatically. The focal point you set for each photo carries through here too, so whatever you centred stays centred on the card.
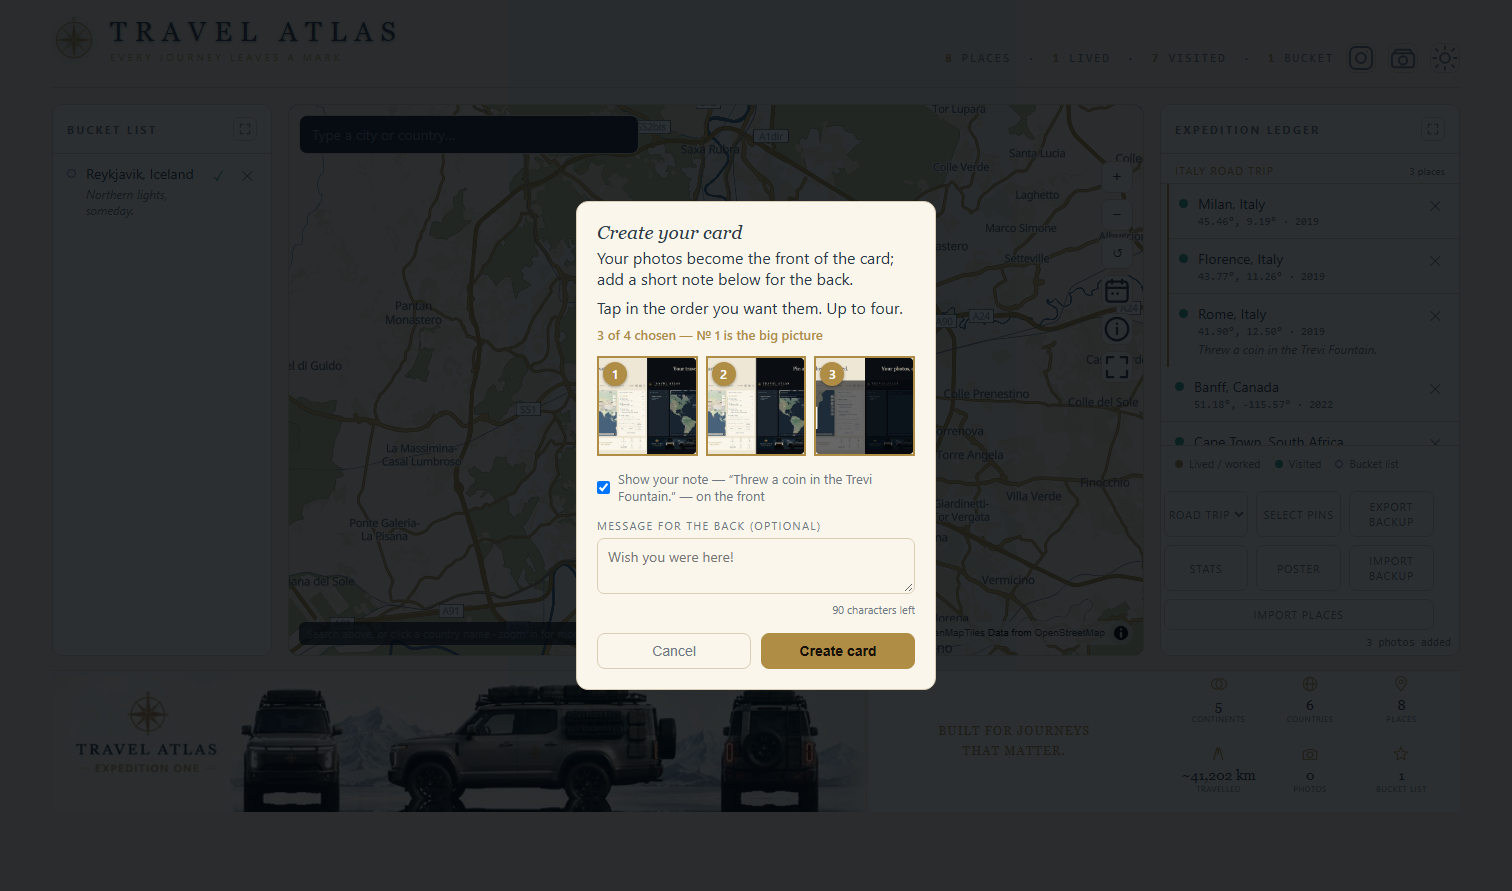
Write a short message before creating the card and you get a second, postcard-style back side alongside the front — both shown together in the preview, and both saved or shared together as one action.
Add a name or @handle (your Instagram handle works well) in Settings and it's signed onto every card you make from then on — a small handwritten-style signature, with a toggle in the preview to leave any one card unsigned.
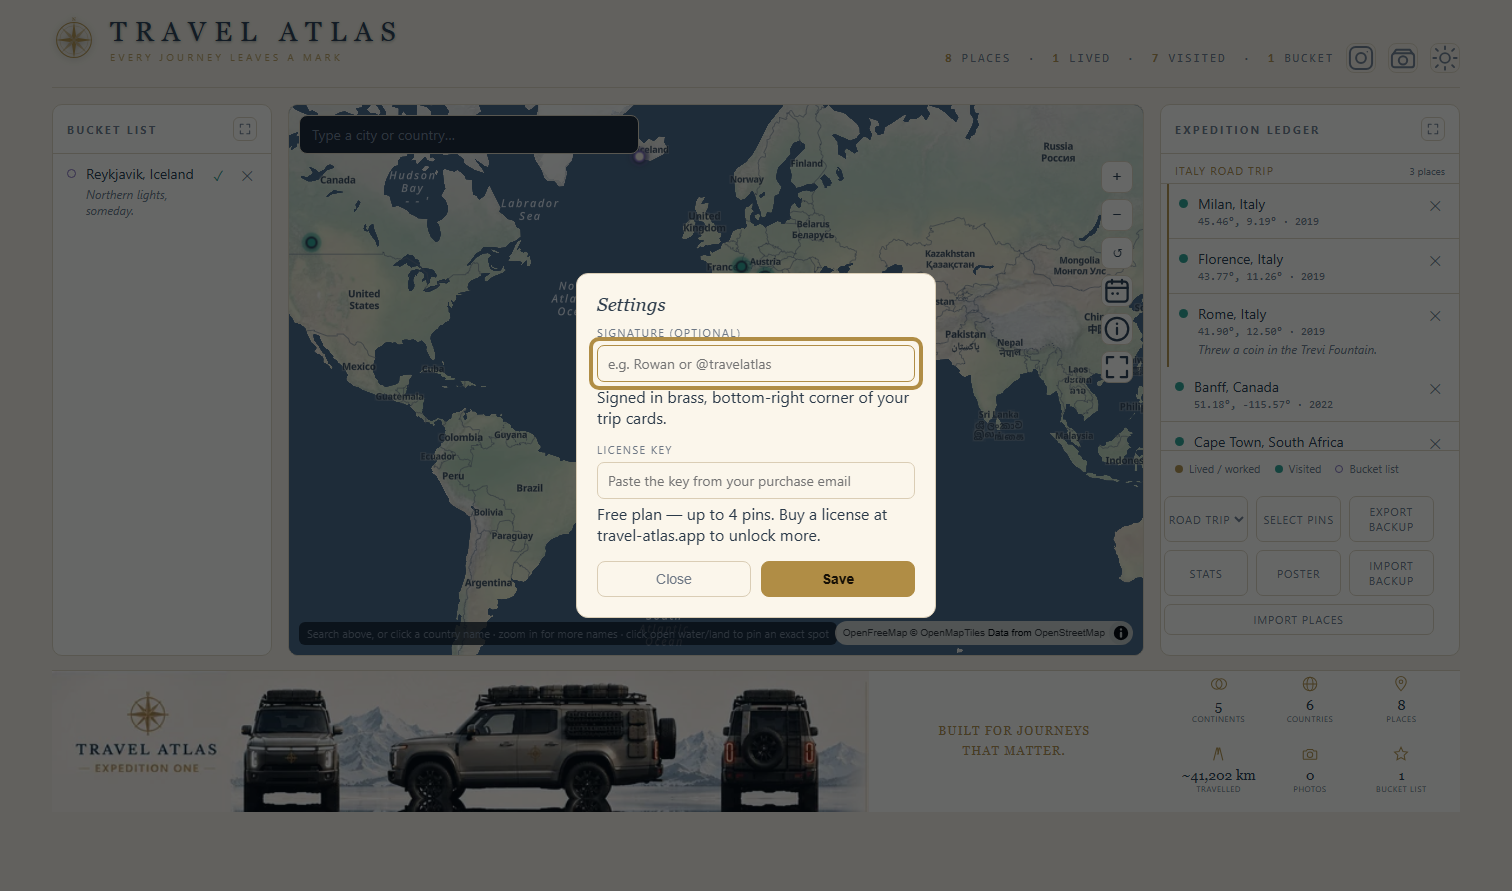
Nothing renders or sends automatically — you always see a preview with your own Save/Share buttons before anything leaves the app.
Printable poster
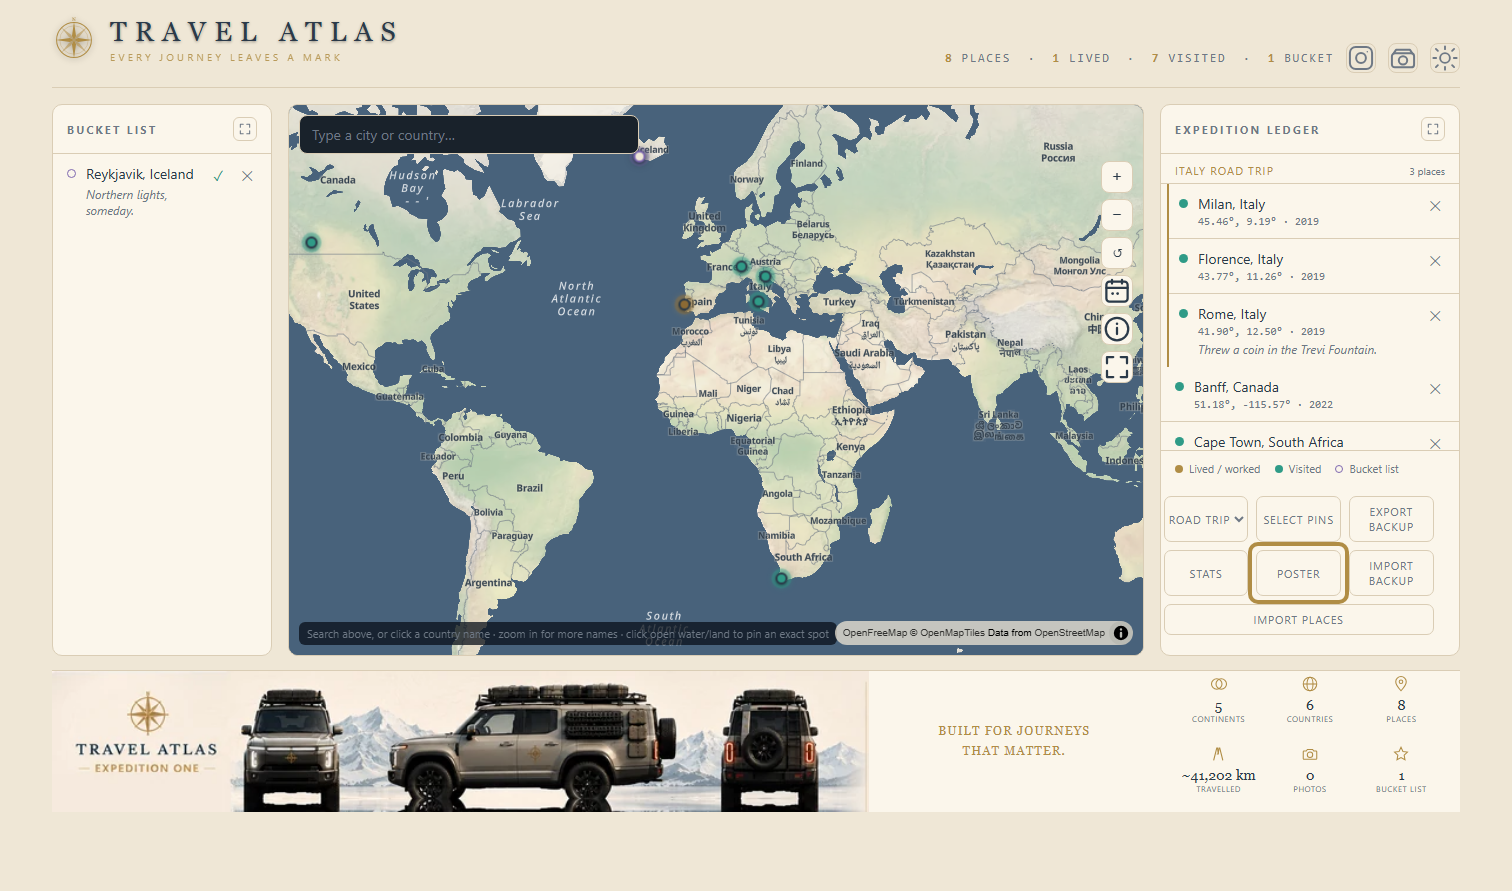
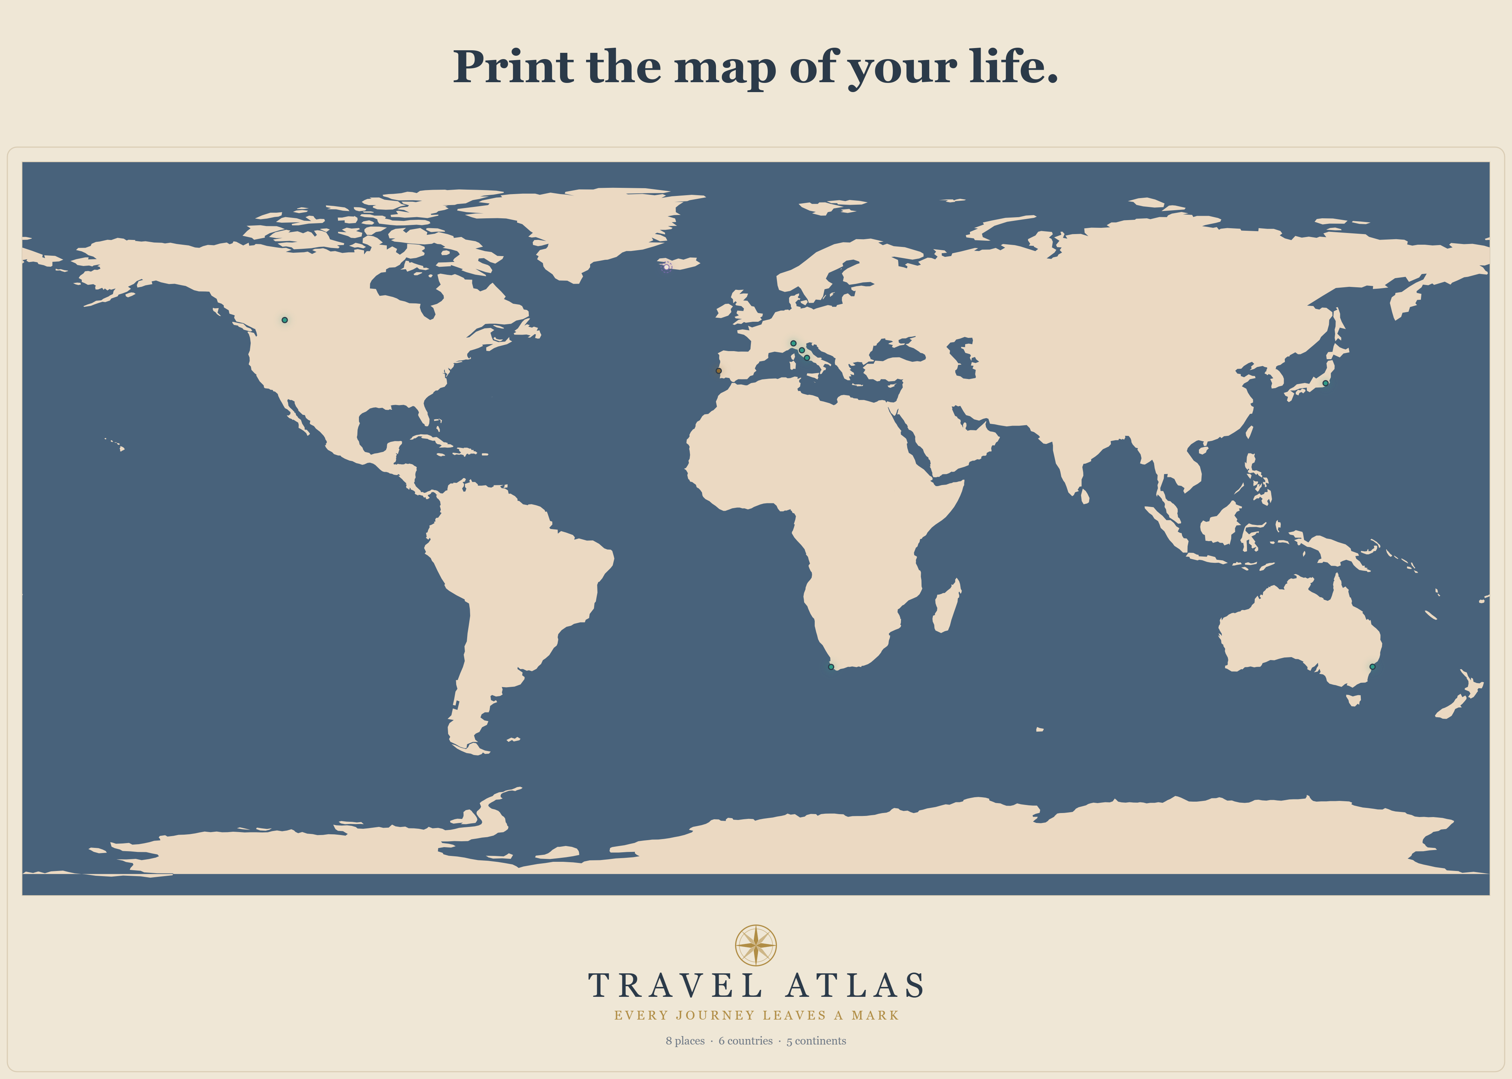
Tap Poster in the ledger to export your whole map — every pin, at full print resolution — as one downloadable image, ready to frame. Like trip cards, it always renders in the same light, warm palette regardless of which theme the app itself is in, so it looks right printed either way.
Cutout-board selfie
Tap the camera icon in the header to open a live selfie flow — line your face up in the on-screen guide and capture. Your photo gets composited straight into the window of the branded Expedition One board artwork, then drops into the same preview/Save/Share flow as any other card.
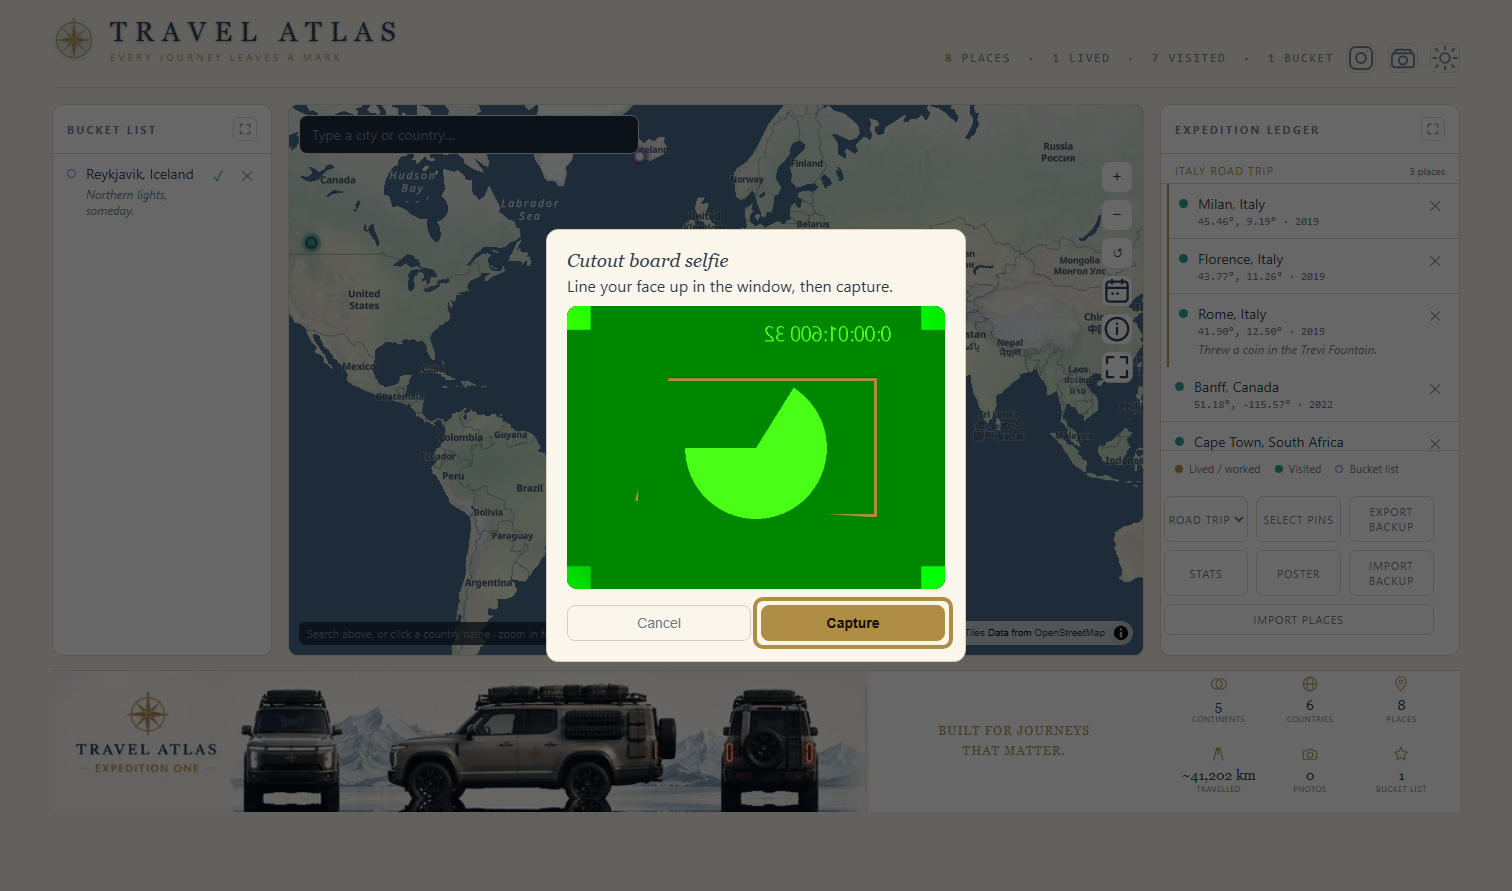
Nothing is uploaded — the photo is captured and composited entirely on your device, and you choose whether to save or share the result.
What "no accounts, no cloud" means for your data
There's no sign-up and no login. Every pin, photo, and note you add is written straight into your browser's own on-device storage (IndexedDB) — nothing about your own data is ever uploaded, synced, or sent anywhere in the background, unless you deliberately export or share it yourself. The map itself and place search do load from a couple of third-party static services (map tiles, and the worldwide place-search index) — no accounts or tracking involved there either, just how the map gets drawn — but that's separate from your data, which never touches a server.
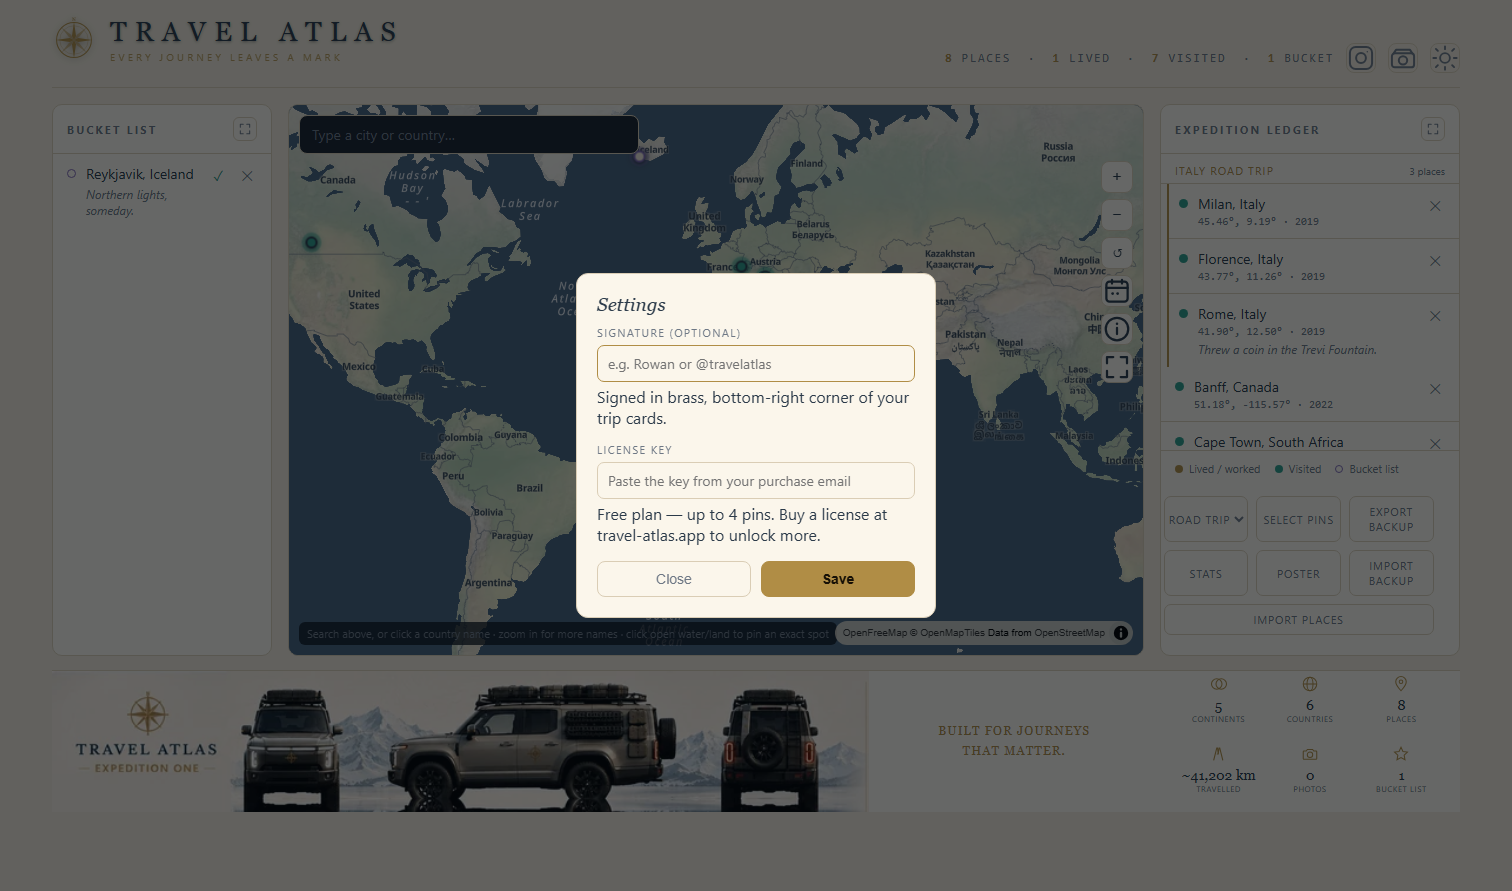
The practical trade-off: your atlas lives on this device, in this browser. It won't automatically show up if you open the app on a different phone or a different browser — see Backup and export below for how to move it yourself.
Backup and export
Use Export backup to download everything — every pin and every photo — as a single .zip file you own and control. Keep it somewhere safe (cloud drive, external disk, wherever you'd keep any other file); Travel Atlas has no way to lose it once it's out of the app.
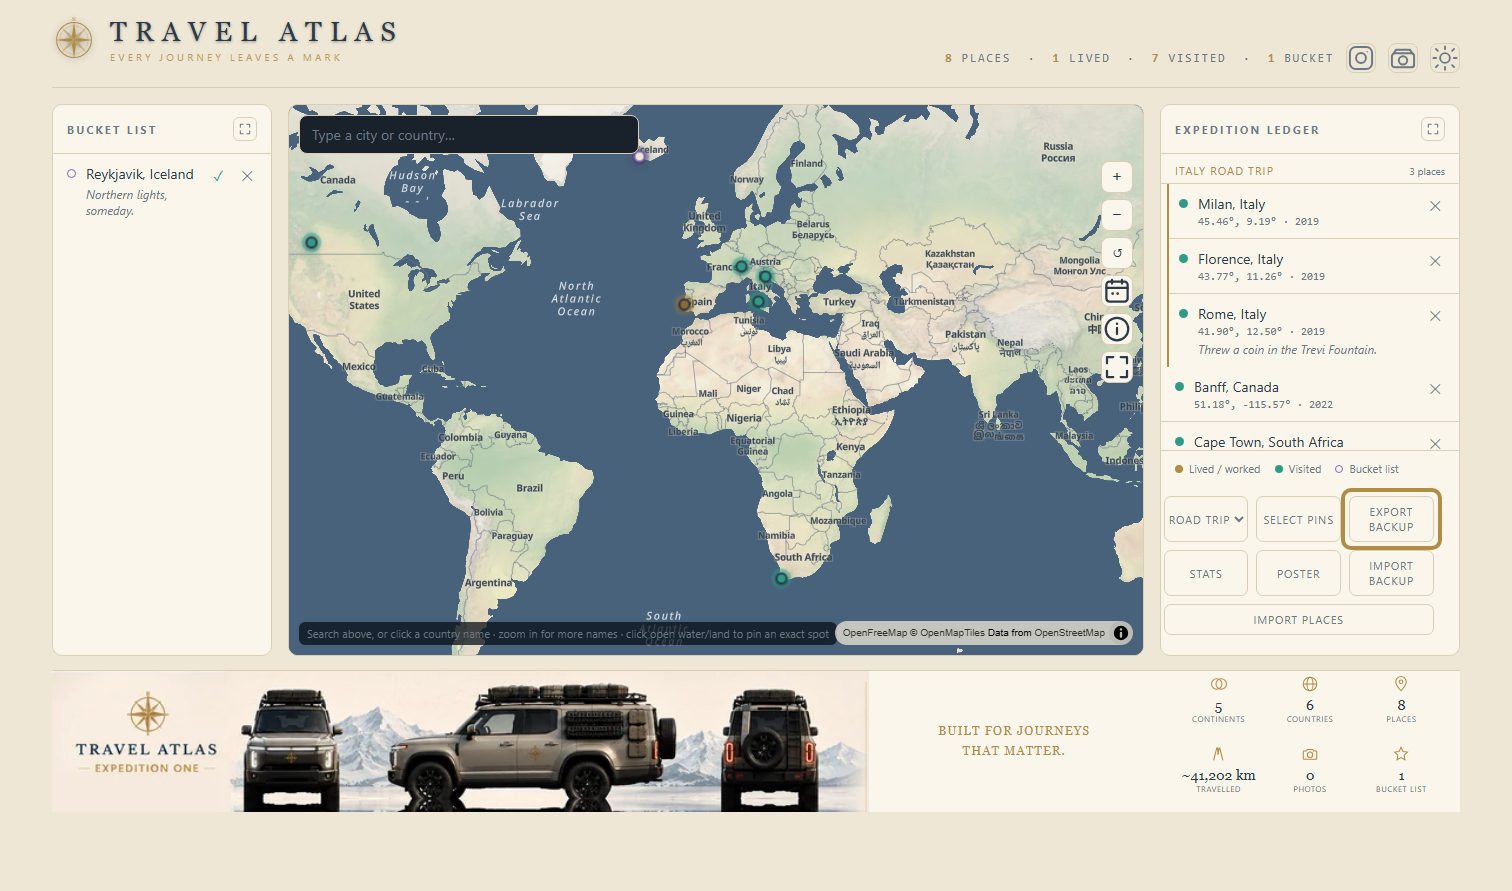
To move your atlas to another device or browser, export a backup on the old one and use Import backup on the new one — it reads the .zip straight back in, pins and photos included. The app also nudges you to back up after enough changes have piled up since your last export.